
When it comes to home improvement projects, siding installation is one of the most common tasks homeowners take on. Whether you’re remodeling the exterior of an existing home or building a new structure from the ground up, the type of siding material you choose will have a big impact on the overall design and curb appeal. In this article, we will cover 5 of the most important siding installation techniques for different common materials like vinyl, wood, brick, and more.
Vinyl Siding Installation
Vinyl siding is one of the most popular exterior cladding choices thanks to its low maintenance and affordability. It also offers the benefit of mimicking more expensive natural materials like wood or stone. Start siding panels at the bottom of the wall, overlapping joints to prevent water and air penetration. Use pre-punched J channels for easy nailing. Secure fasteners straight and at a consistent spacing, usually every 16″.
Wood Siding Installation
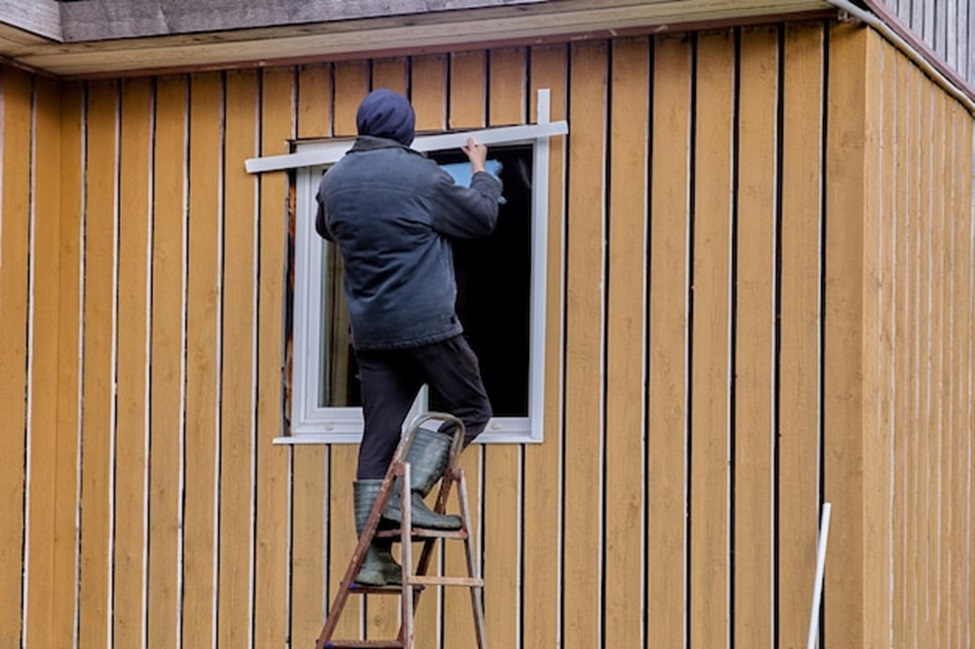
Wood sidings such as cedar shakes and shingles have a gorgeous aged appearance but also require extra care during the installation process compared to low-maintenance vinyl. To install wood siding, use treated wood and install felt building paper to create a moisture barrier. Follow the manufacturer’s spacing and surface preparation, test for warping, and sand irregular surfaces. Use hot-dipped galvanized nails for structural integrity.
Brick Installation
As a timeless exterior cladding choice, brick brings architectural character. To install bricks, start on a level mortar bed, lay bricks in a running bond pattern, butter both sides and set each brick firmly in place. Tool and point mortar joints for water runoff, and allow to fully cure before applying pointing mortar. Weep holes every 24″ and leave gaps or vents behind the bottom course for drainage. Install lead, copper, or self-adhesive flashing at penetrations to prevent leaks.
Hand-Split Shake or Shingle Installation
Rustic cedar or wood shakes or shingles give an aesthetically pleasing cottage or lodge look but need to be installed with the material’s non-uniform nature in mind. Hand-split shakes and shingles have irregular widths with thicker butt ends, so adjust the spacing between courses. Stagger joints at least 18″ to avoid leaks. Score butt ends for a weather-tight fit. Hand-nail with galvanized ring-shank nails for flexibility. Use waterproof, breathable sealants like a deck or roof coatings to protect the wood.
Synthetic Siding Installation
Synthetic siding materials effectively mimic popular natural siding at a fraction of the cost and maintenance. To prevent air and moisture infiltration, tape and caulk all seams and vertical joints on pre-painted synthetic sidings. Overhang framing by 1/4″ and use flexible fastening systems like ring-shank siding or screws. Caulk or trim outside corners using paintable moldings. Apply a water-repellent-impregnating sealer to prolong the life of moisture-resistant but not fully waterproof synthetic sidings.
Conclusion
With the right materials and techniques, both major home siding projects and fun backyard recreation areas like a pickleball court resurfacing can be successfully tackled. Follow installation best practices tailored for each unique material type. Pay attention to details like sealing, overlapping, and moisture management. The result will be a durable, long-lasting finished surface to enjoy for years to come!